Week 13 has crept up now, leaving only 3 weeks left to complete this project. No time to waste, so let’s get into it.
Fencing Up
Continuing from last week, I immediately got to work making a few more fence sections. Once I was satisfied with the amount, I added them to the display in a way that would help sell the story idea that the Inika were storming the gates of the Piraka Stronghold.
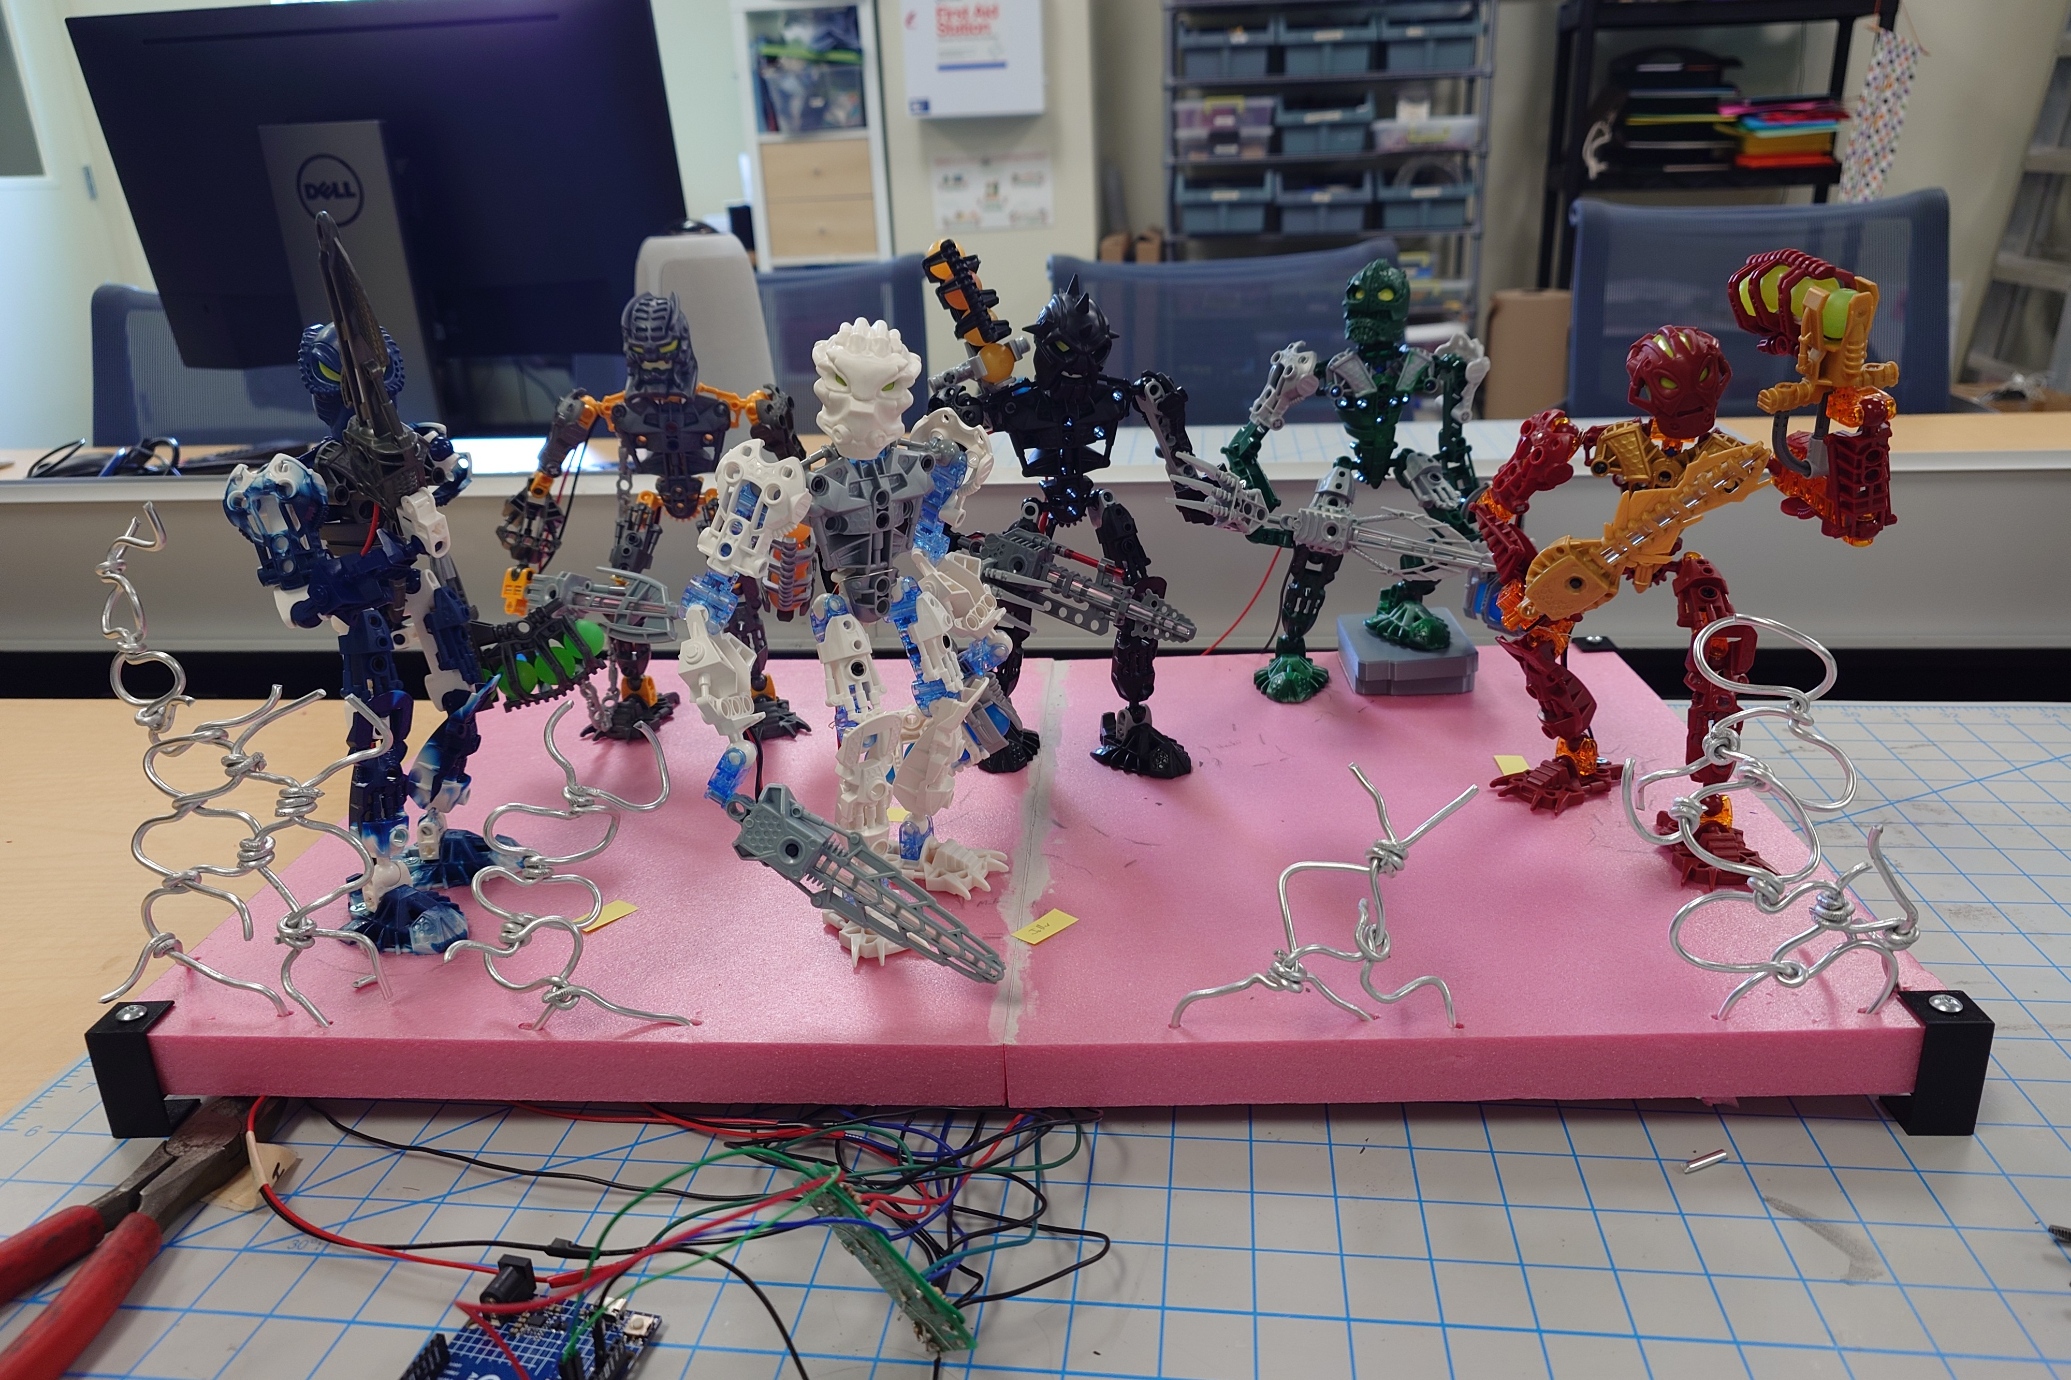
These positions are in no way set in stone, especially because I’ll be removing them shortly to paint over them, but I think it’s a good start.
I also want to add bits of wire strewn about to better show that the fence is supposed to be broken open, but I’ll work on that after painting. Which speaking of…
A Fresh Coat
It’s finally time, at long last.
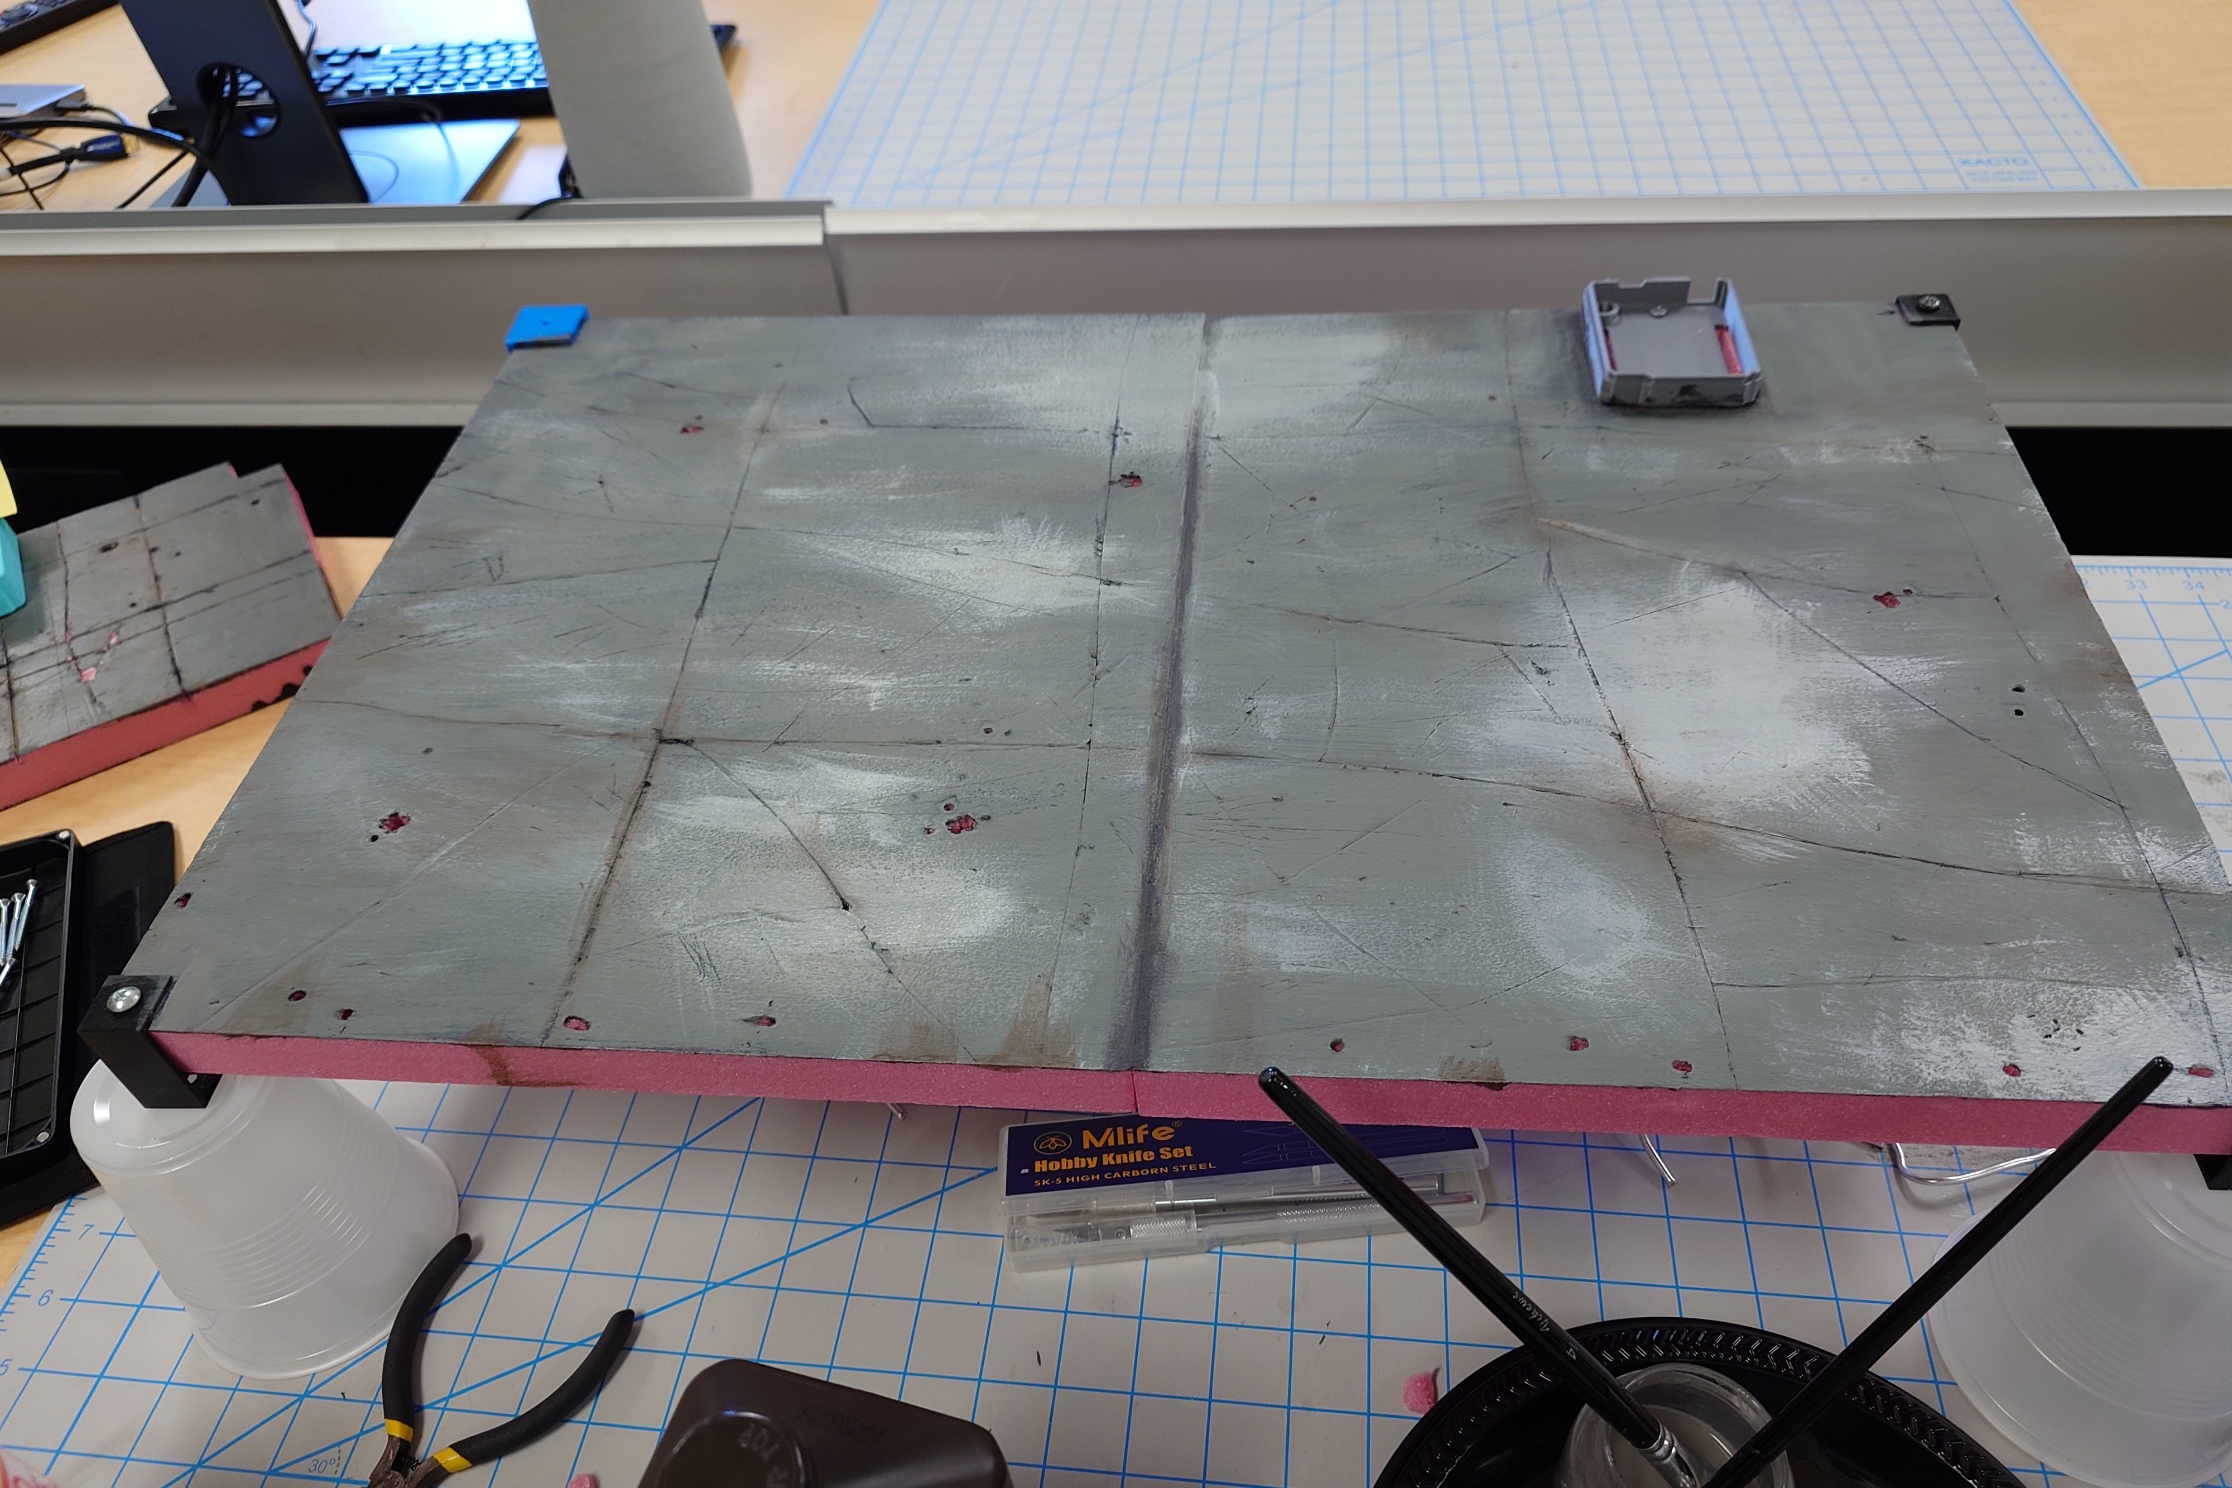
To get the base set up for painting, I lifted it up using some plastic cups, and removed the cables from each Toa underneath. Then, I removed the fence I just added, and finally, the Toa themselves.
Once that was all done, I scored the board with a knife to mark out the tiles, this time doing it by hand with more room for error, to really make it look like it was natural rock carved by enslaved Matoran.
I also made sure to give plenty of scratches, cracks, and other textures to show wear and tear.
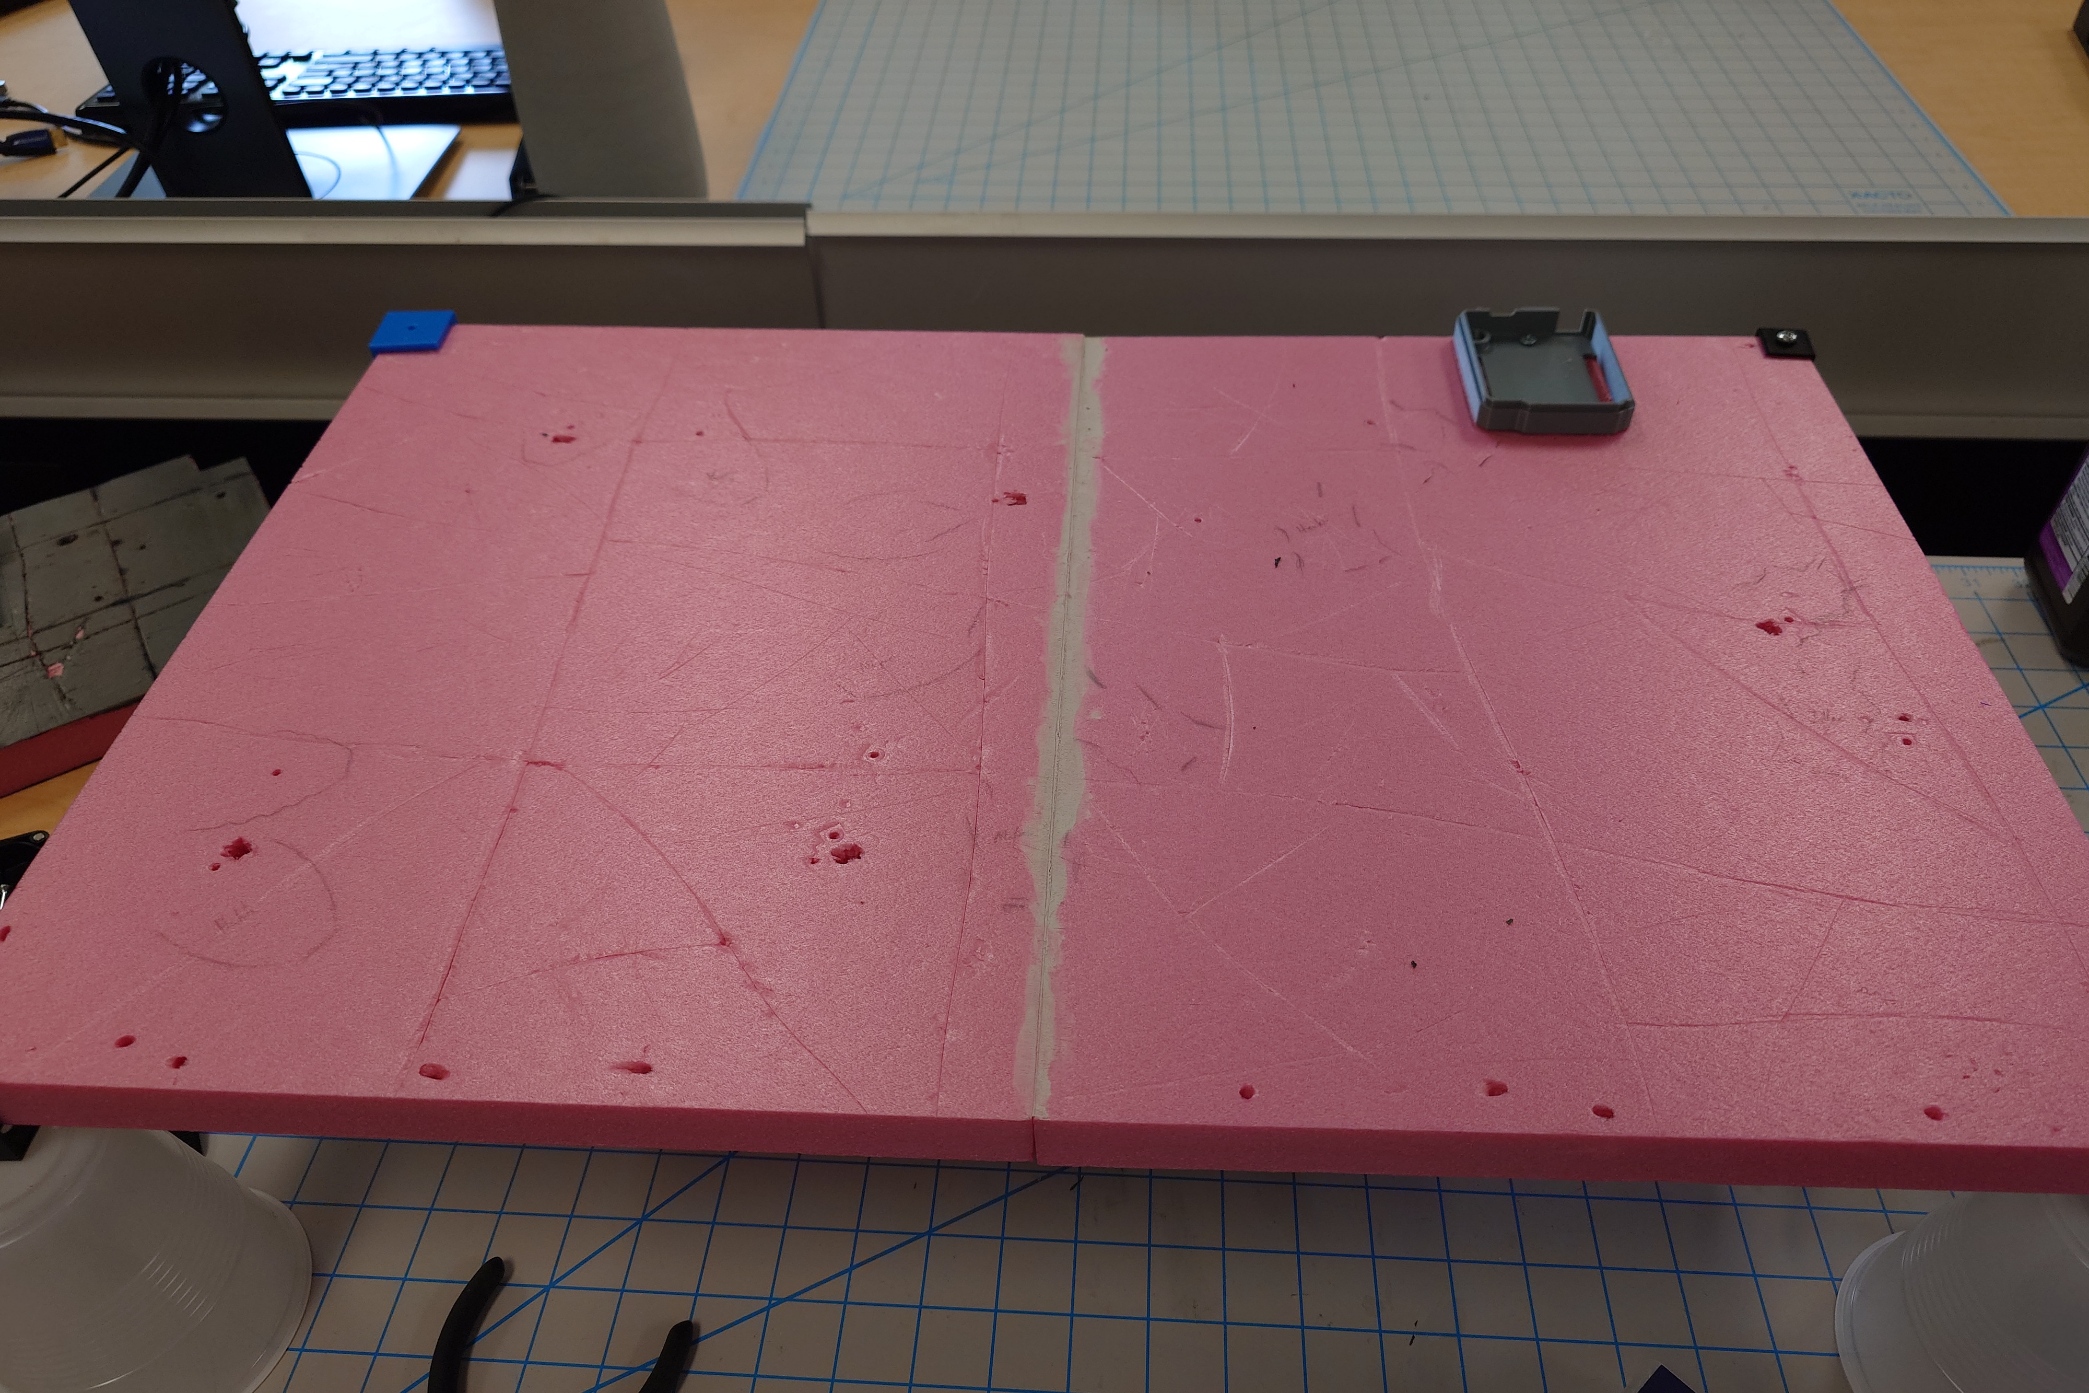
Then, I simply just put a few coats of my primer mixture on it and waited for it to dry.
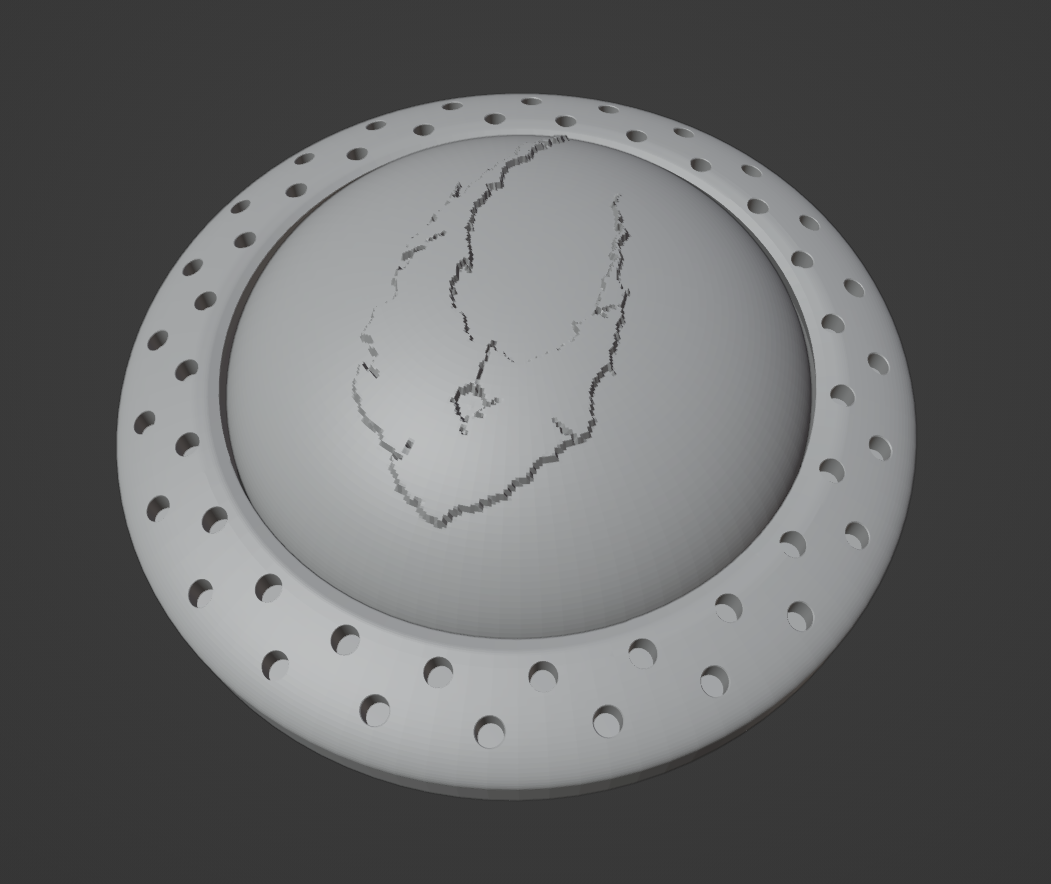
While waiting for it to dry, I began work on a button design, and I knew exactly what I wanted to do.
In the image below are some of the icons used to represent the first half of the 2006 year of Bionicle. The one of focus here is the Zamor sphere with the icon of Voya Nui inside of it, surrounded by some metal object.
It’s definitely clear by now what my intentions are. I couldn’t help but notice how well it would work as a button, so I got to designing a model for it in Blender.
I worked on it for a bit, but it was quickly back to painting as the layers dried faster and faster.
After applying the primer layer, I put a layer of grey over the entire board, and used a lighter gray to try and throw some highlights around it, to spice it up. I don’t think I did very well.
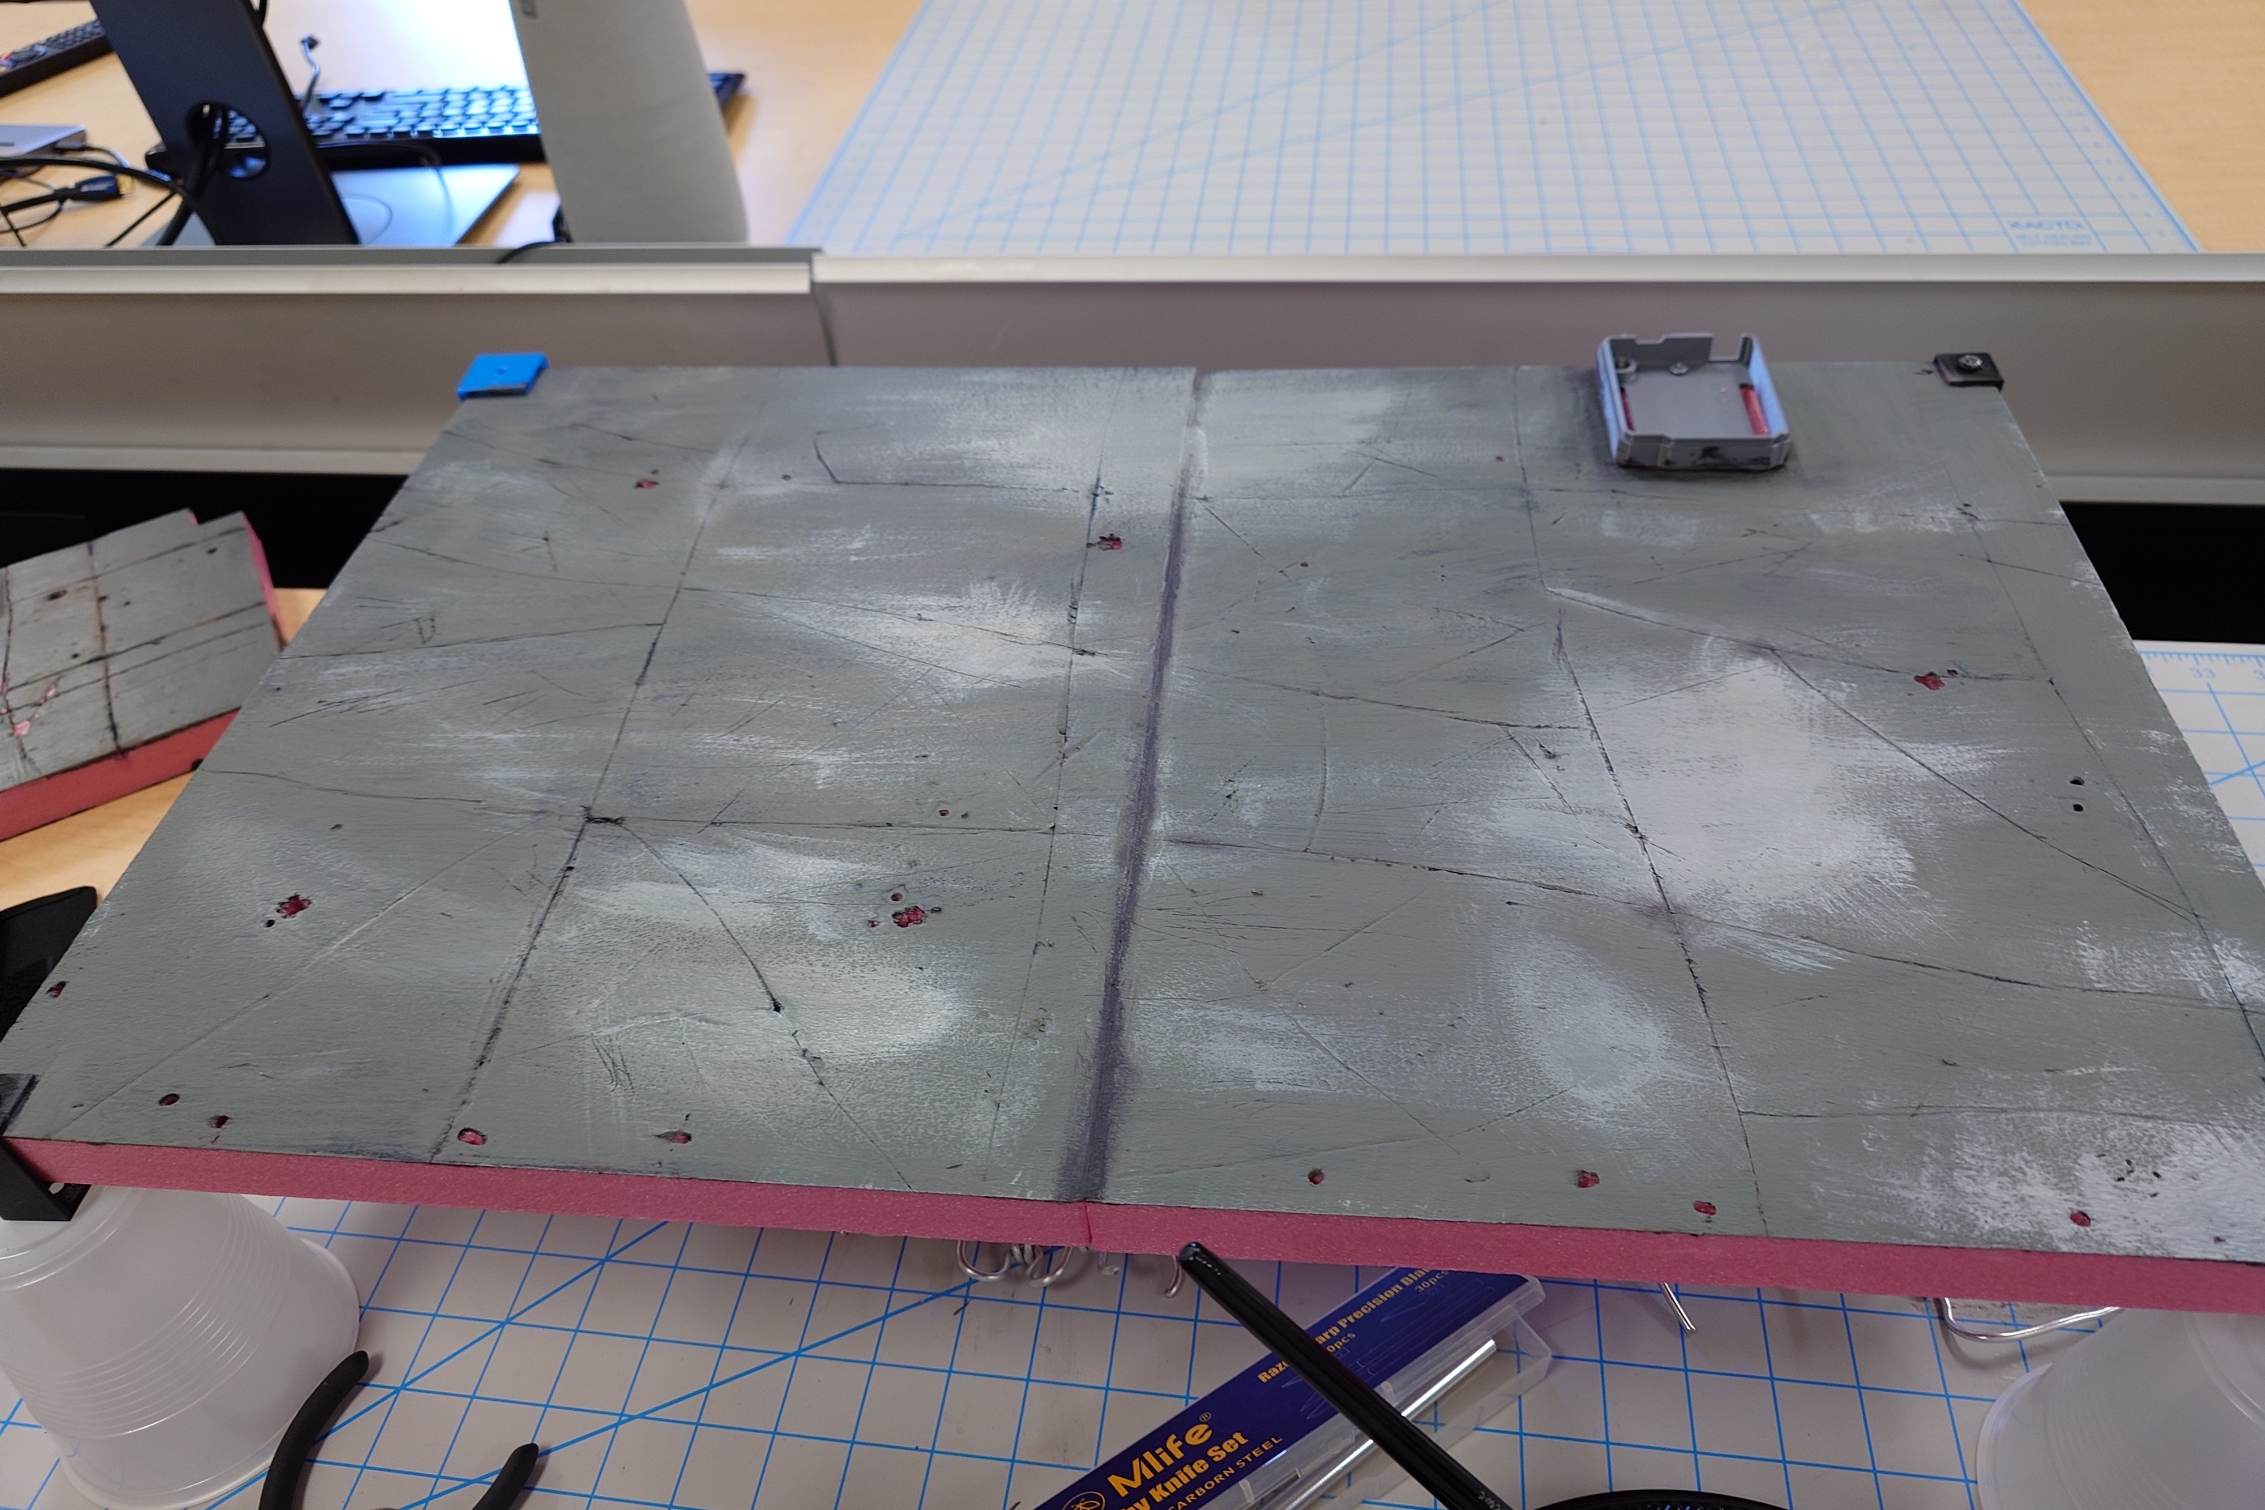
Nonetheless, I’m still satisfied with how it looks so far. The next step will be to apply a very small amount of the brown wash I used previously. I’ll make sure not to go overboard again on accident.
Which I think I did a good job at avoiding.
While I’m overall satisfied with the look of it now, before I seal it in entirely, I want to give it a day for my eyes to rest and refresh. I can always make adjustments now, but once I put the varnish on, that’s it, no more edits, so I want to make sure I have it right.
The Next Day
Coming back to it, I really, really like how it turned out. I did have to go over the lines a bit with a knife to redefine the edges, but I think I did great with this. So on that note, it’s time to seal it up.
I put some layers on, and continued working on the button design while I waited for them to dry.
After some tedious copy and pasting, I came out with this result:
I gave it a test print and I’m mostly satisfied with the result.
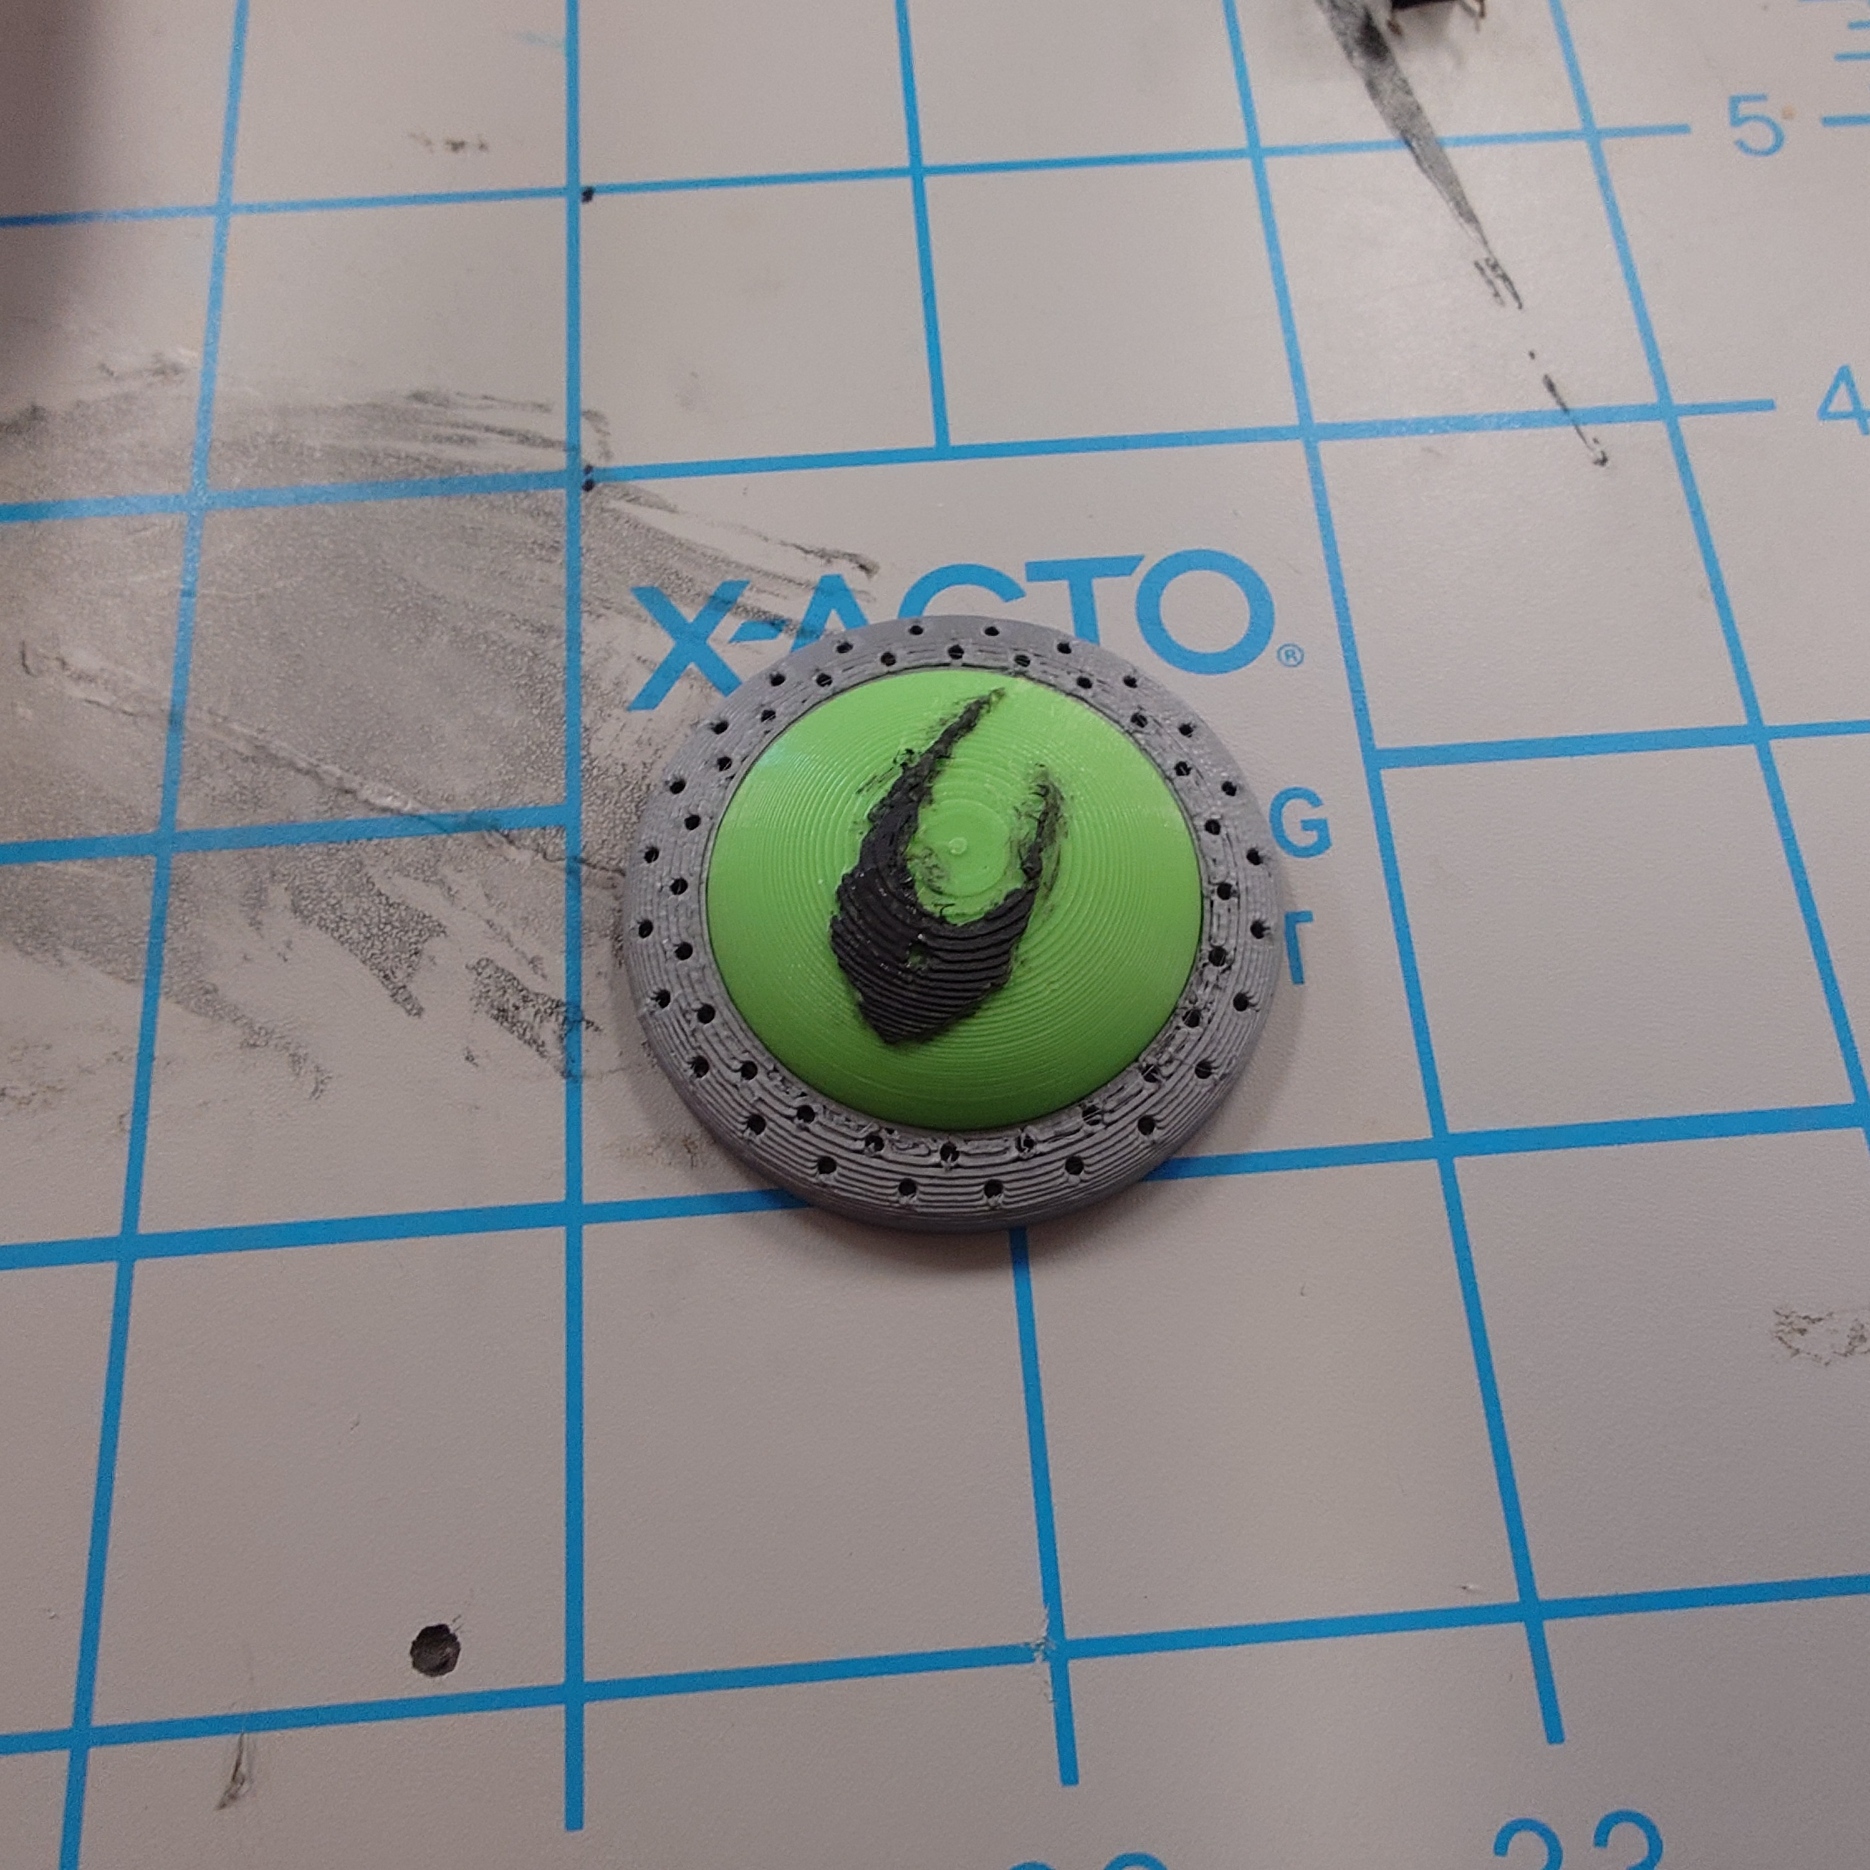
I’ll need to make a few tiny adjustments to the size and specifics of it, but the overall core idea is there.
But with that short detour, the base has had enough time to dry fully, so I went ahead and started reattaching the chains and Toa.
While putting them back on though, there was a few things I found I need to address.
Minor Readjustments
First, Jaller desperately needs a coat of nail polish on his joints. He’s flying around like his joints aren’t supposed to stay attached.
The other thing that was bothering me is the composition of the Toa, again. Specifically, I didn’t like how similar of a position all of their swords were, as it became very noticeable with the lights on. It’s too late to change their positioning, but I can at least move their arms.
Specifically, I wanted to change up either Kongu or Matoro, and Nuparu or Hewkii, as the way they hold their swords are much too symmetrical.
For Kongu and Matoro, I decided to adjust Matoro so that his sword was raised up closer to his chest, rather than being parallel with the ground. I may adjust it slightly from here since now he, Jaller, and Hahli are all in sync with a similar pose.
But for now, it will work. Next up I looked at Hewkii and Nuparu. I readjusted Hewkii a little bit, but there wasn’t much else I could do with his current pose, so I had to, unfortunately, give in and allow Nuparu to two-hand his drill again. I just can’t deny that it makes him look so much more dynamic.
Like I mentioned with Matoro, I’ll probably end up making some more adjustments to the Toa, but I don’t think they’ll be worth writing down. But with this out of the way, let’s move on.
Display, to Play-set
I want to finally get Kongu attached to the display, so I need to work on a button right now. I have the design I want ready to print, but I now need an actual, physical button for my button to press. Thankfully, the DKC has quite a few of those lying around.
I ended up choosing one of the larger buttons with a removeable cap, which means it’ll be easy enough for me to add that into my current design.
Although, it would be much easier to just attach my button to the existing button as is, which is the path I went down. I simply made a hole in the button to fit the other button into.
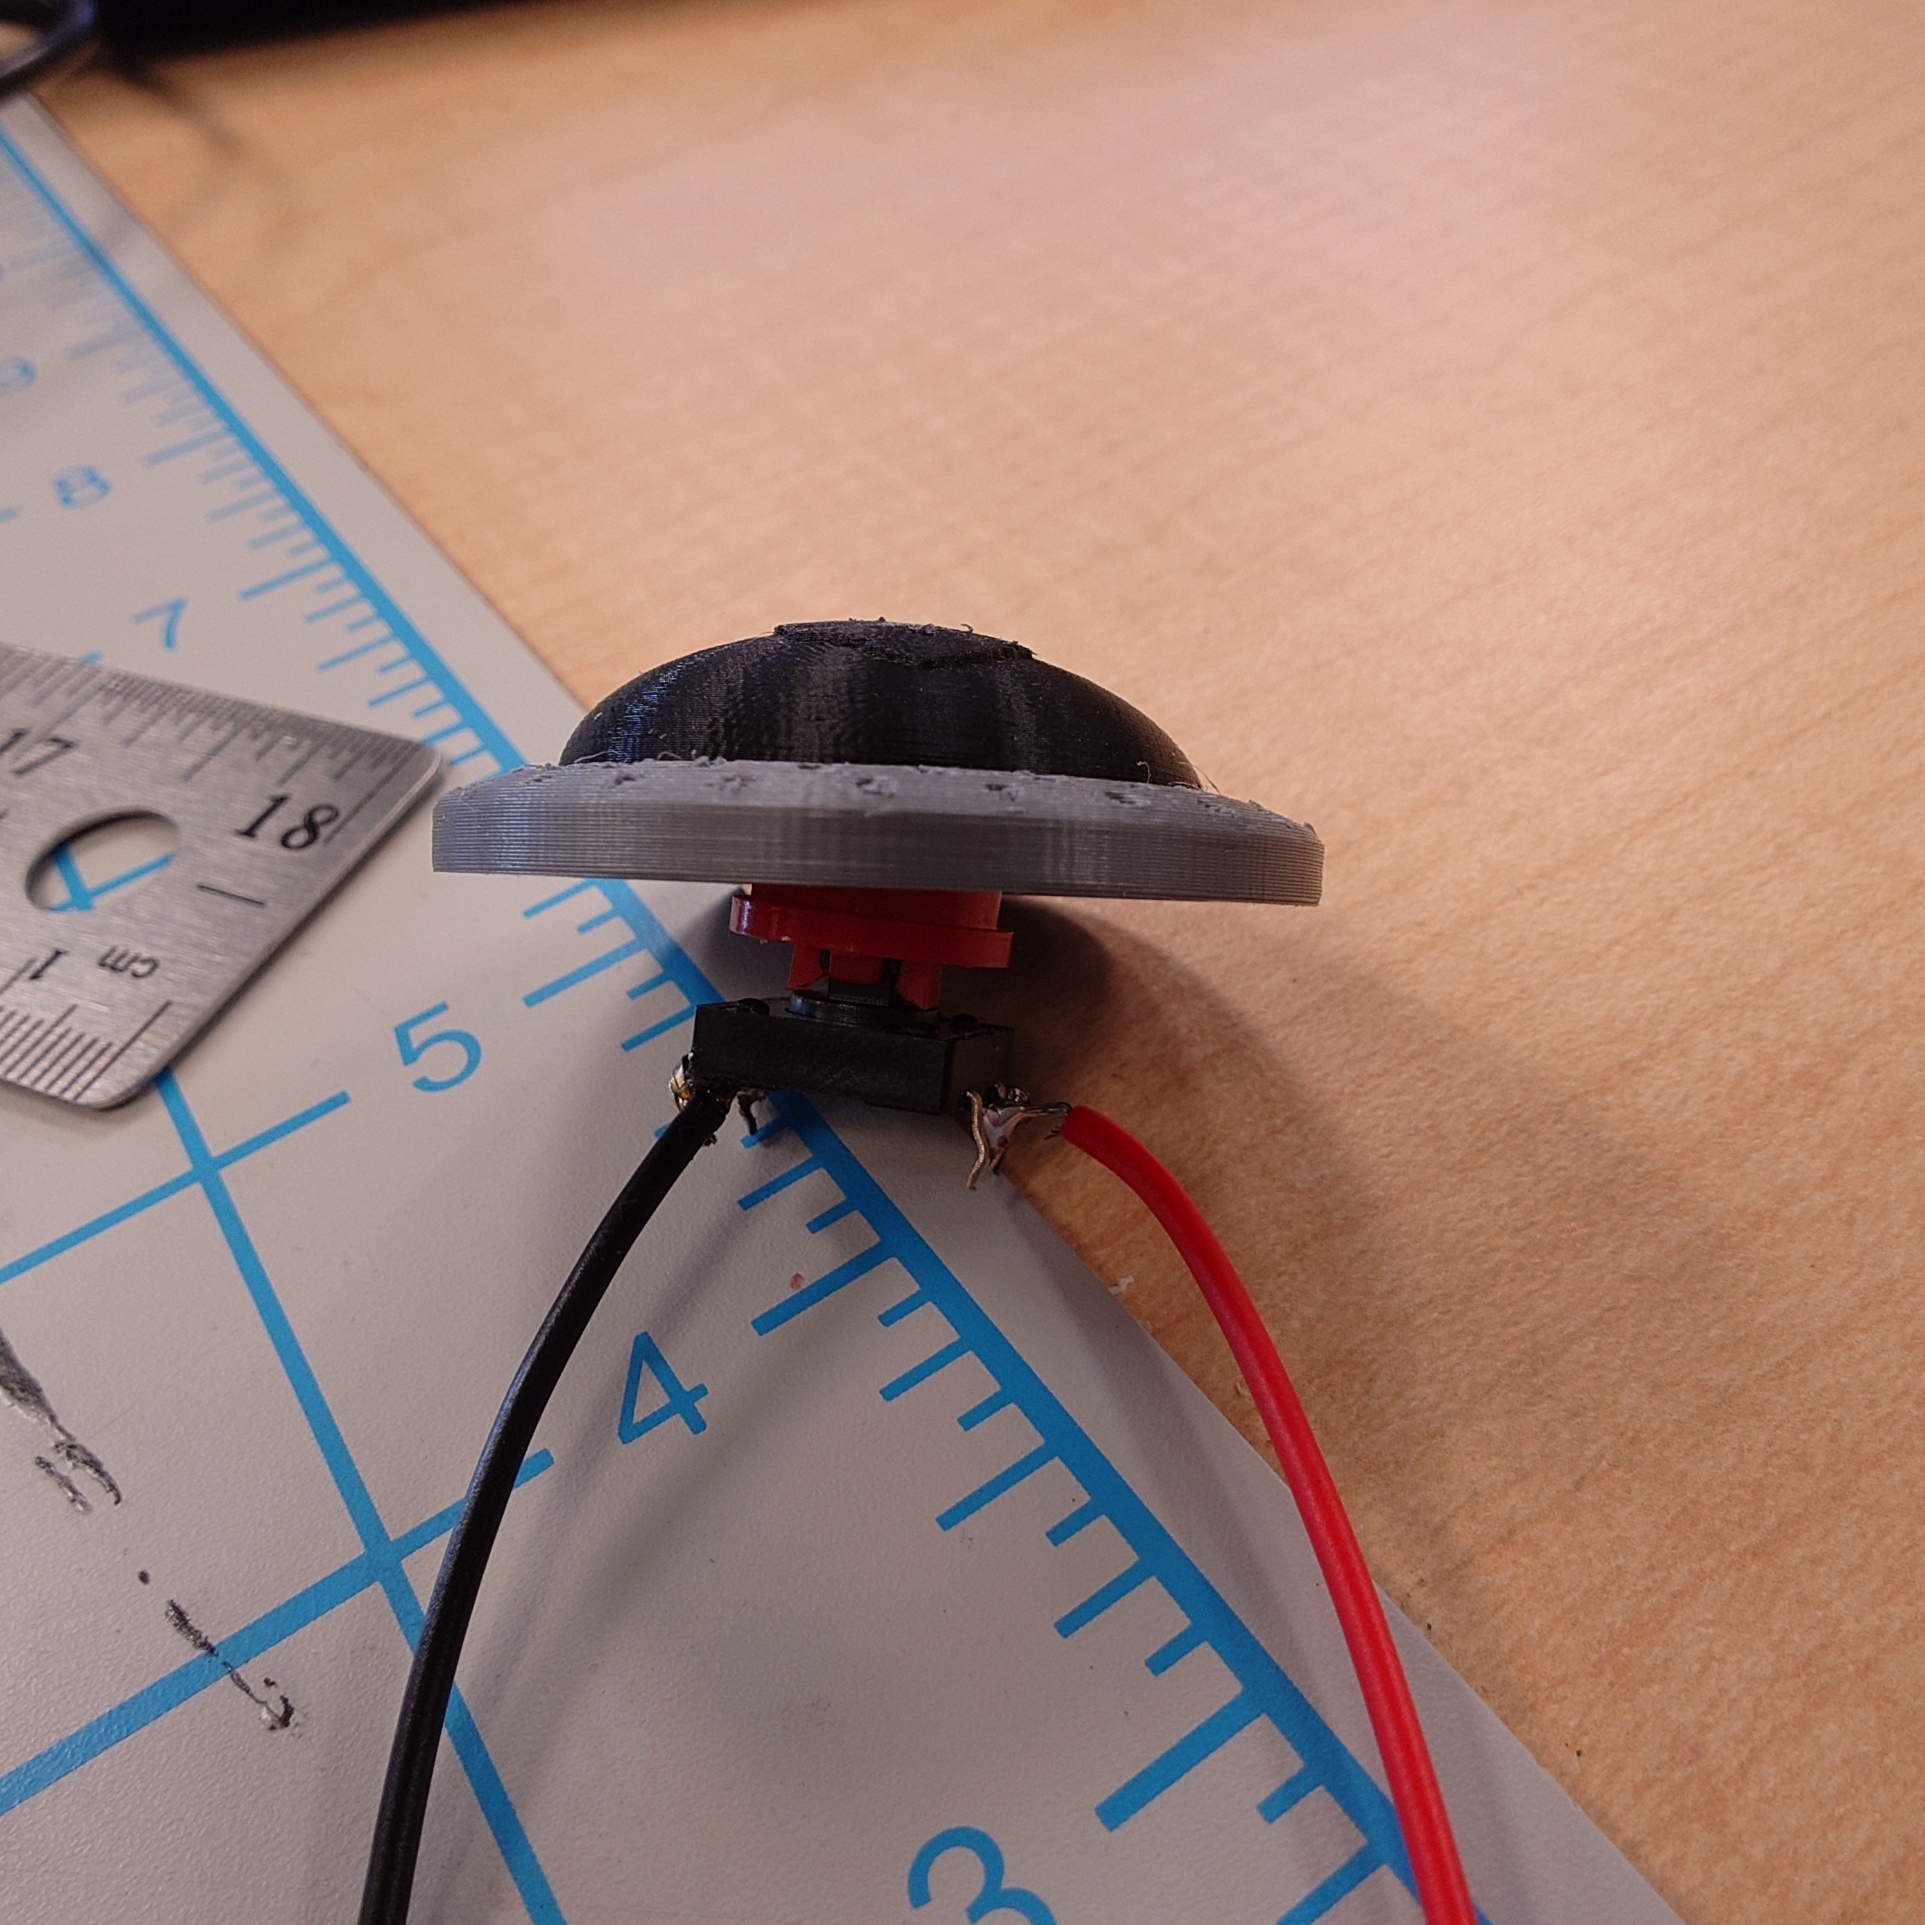
I still need to widen it a tiny bit, but this will work for the time being, as I am out of time for this week.
End of the Line
There is little time left for this project to reach its conclusion, so it’s a good thing that I also don’t have much left to do. I have received information about the printer I’ll be using, so I can begin work on the decals and get those printed next week, which will leave only the Plexiglass left to assemble. Of course, none of this until I print out the final design for my button.
It has gotten down to the wire, to the point where a single mistake can cause me to not finish the project. Thankfully, as I mentioned before, I will have much more time to work on this during the final week, if needed, but I would rather take the time to relax a bit if I can.
Regardless, I’ll rest up for now and prepare myself to bring this all together next week.